Handstand Walk Progression: How to Get Handstand Walking

Are you trying to learn how to handstand walk? We’ve got a progression that has helped many athletes just like you get more comfortable on their hands. We’ll guide you through the steps, and you’re going to put in the work. Here’s how we break it down:
1. Wall Support: Your Foundation Kick up into a handstand against the wall. This isn’t about sticking it for a second—it’s about holding strong, feeling that balance. Make sure you can comfortably support yourself here because it’s the base for everything else.
2. Hand Placement and Gaze Change up your stance. Hands a little narrower, directly under the shoulders for stability. And your gaze? Down at your hands, not at the wall. It’s different from a handstand pushup; it’s about gearing up for motion.
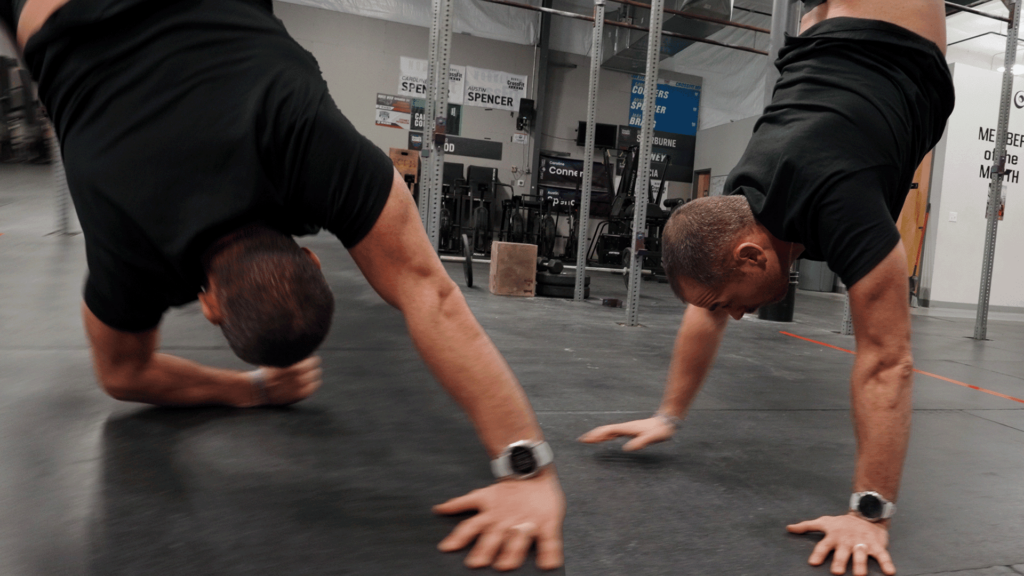
3. Shifting Weight Time for some action. In your handstand, start shifting your weight from hand to hand. It’s subtle but crucial. Watch Sherb in the video for a clear picture. It’s about feeling the weight transfer with the wall for assistance.
4. Wall-Assisted Steps Still with the wall, but now you’re moving. Place your hands a couple of feet away, kick up, touch the wall with your heels, and then hand-walk towards it. It’s your middle ground between static and dynamic.
5. Embracing the Fall This is key. Your body needs to learn the forward momentum—feet over hands, remember? It’s what propels you in a handstand walk. Practicing this will stop you from stalling or tipping backward.
6. Hand Walking into Free Space Graduate from the wall. Start with your hands close enough to tap the wall with your heels after a few steps. As you get more confident, move further away until you’re walking into free space.
Stick to the plan, keep the video handy for visual cues, and let’s get you handstand walking like a pro. It’s not just practice; it’s smart practice.


